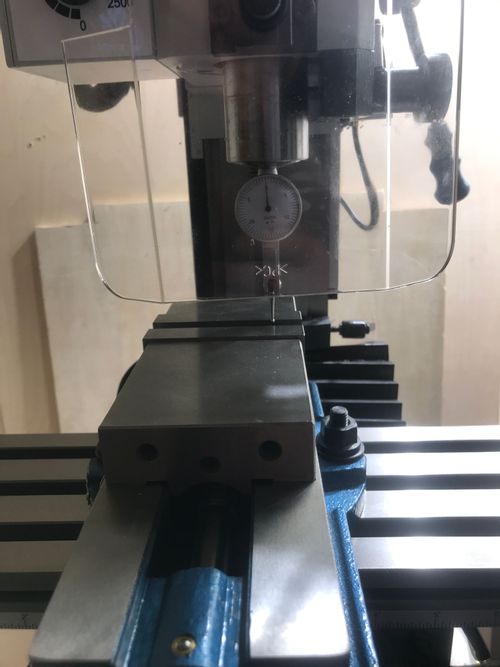
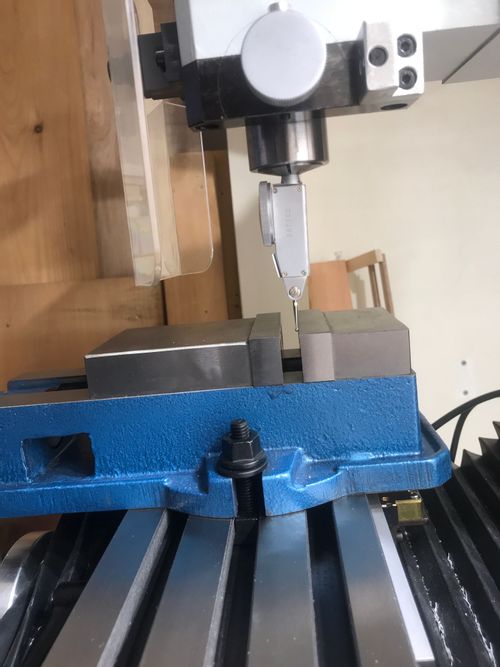
Used
-
Dial test indicator: 0.03” measuring range, 0.0005” increments, with a 3/8” post on the upper dovetail slide. (the post size needs to match a collet size that I have)
-
3/8” collet
Procedure
-
Thoroughly clean the top surface of the table and the bottom surface of the vise. Place the vise on the table where you want it.
-
Slide the vise-mounting hardware into place and get it finger-tight.
-
Mount the test indicator in the spindle via a correctly-sized collet. Make sure that everything is tight (test indicator dovetail post, drawbar, etc.)
-
Using a hammer, tap the vise toward the column of the mill until it seems that the mounting hardware is flush against the back of the T-slot in which it is sitting. This doesn’t guarantee squareness but it seems like a pretty good first move to get in the ballpark.
-
Move the table so that the indicator ball is on the fixed jaw of the vise. Add about one dial-revolution of preload.
-
Using a wrench, adjust the tightness of the mounting hardware so that the vise is pretty firmly in there but can still be moved by tapping it with the hammer. At the end of this adjustment, tap the vise back toward the column like in step 4.
-
Tram the table back and forth under the test indicator and tap with the hammer until the needle stops moving over the full travel along the face of the vise jaw. I found that if I made too many adjustments without getting it right, I would have better luck tapping it all the way back toward the column as far as it would go and trying again. Note that it can be hard to tell which direction of deflection (forward or backward) is being indicated by the dial. If this is a problem, you can move the indicator needle with your finger to establish which direction is which.
Front view

Side view
