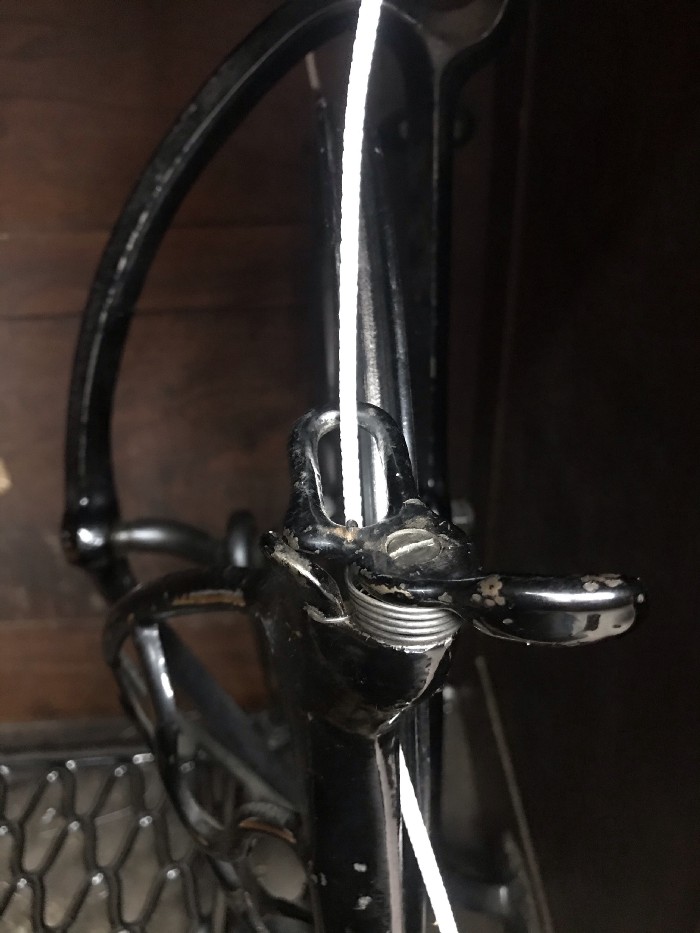
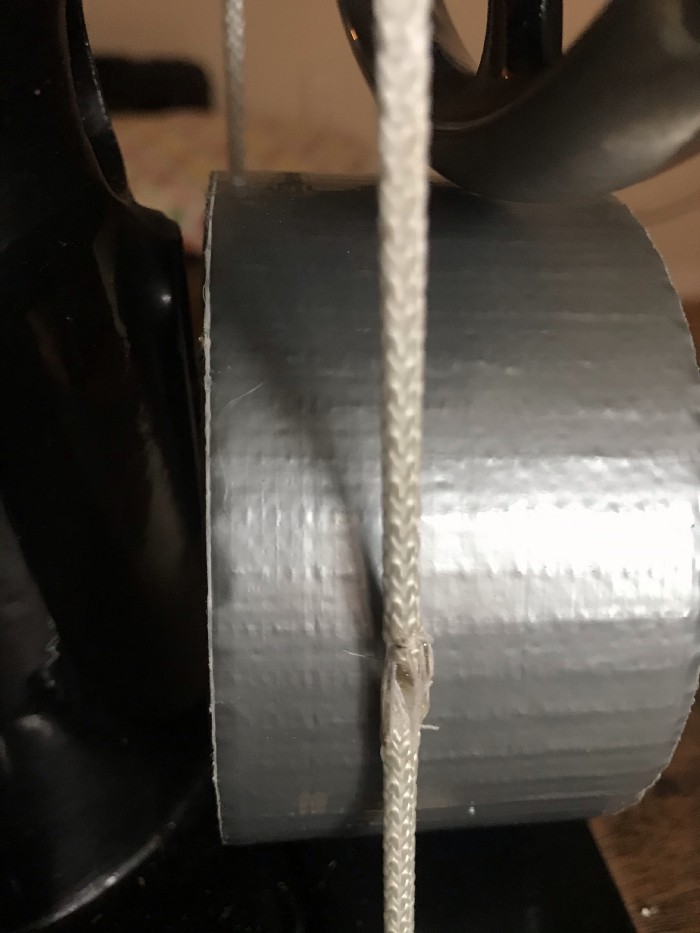
The ancient belt that came with my Singer 66 snapped today. I knew it was only a matter of time, so I had been thinking about various ideas for replacing it. It felt right to make a new one; it didn’t feel right to buy one. This machine has lasted 97 years in wonderful running condition. I wanted to believe that it could keep working for another couple thousand regardless of the existence of its manufacturer. That said, my solution isn’t perfect and I’ve only been using it for about a day. I’ll try to remember to update this post over time as I see how it performs. For now I’m happy enough with how it works that I’m using it. TLDR: My machine is a treadle-powered 1927 Singer 66 in an open side cabinet #24. The solution I ended up with was an approximately 68.5" length of 1/8" low-stretch polyester cord. After threading it through its path, I sewed the ends together with polyester thread. After engaging it to make sure the fit was right, I used ~4.5" pieces of duct tape, torn lengthwise into thirds, to wrap the belt at intervals to increase the traction and prevent slippage. This seems to work fairly well; I was sewing some kind of PVA-backed material today and I was able to use the treadle to get through it. Adding duct tape to the rest of the belt would likely increase the traction further, but once the material gets thick enough to require it I might prefer using the handwheel anyway. The original belt was made of leather and badly dried out, as is common with these machines (I needed to replace the belt on my motor-driven 66–18 as well). The belt measured approximately 67.5" long (I found that the paracord belt had to be almost an inch longer, 68.5"), with a diameter of approximately 1/5". It was sewn together with thread when I got it; I re-sewed it with polyester thread and it lasted for a few days. I had joked about replacing it with Ethernet cable, which seems to match the diameter and provide a nice grippy surface. I still think that might work, but I’m not sure how I’d join the ends. When re-sewing the belt, I broke two needles, bent one, and hurt a couple of fingers; I wanted to avoid repeating the experience if possible.
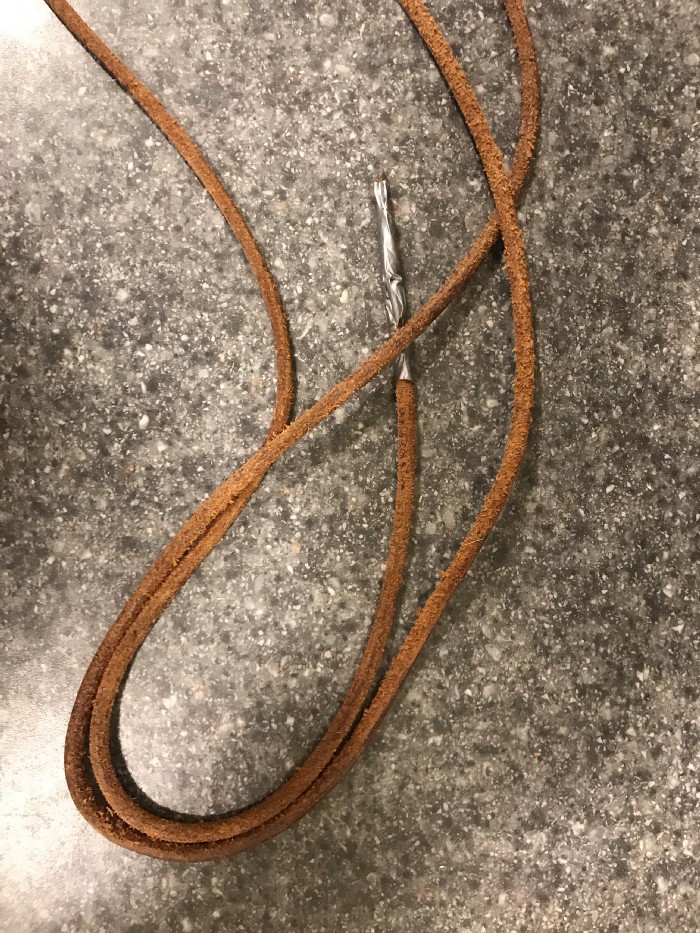
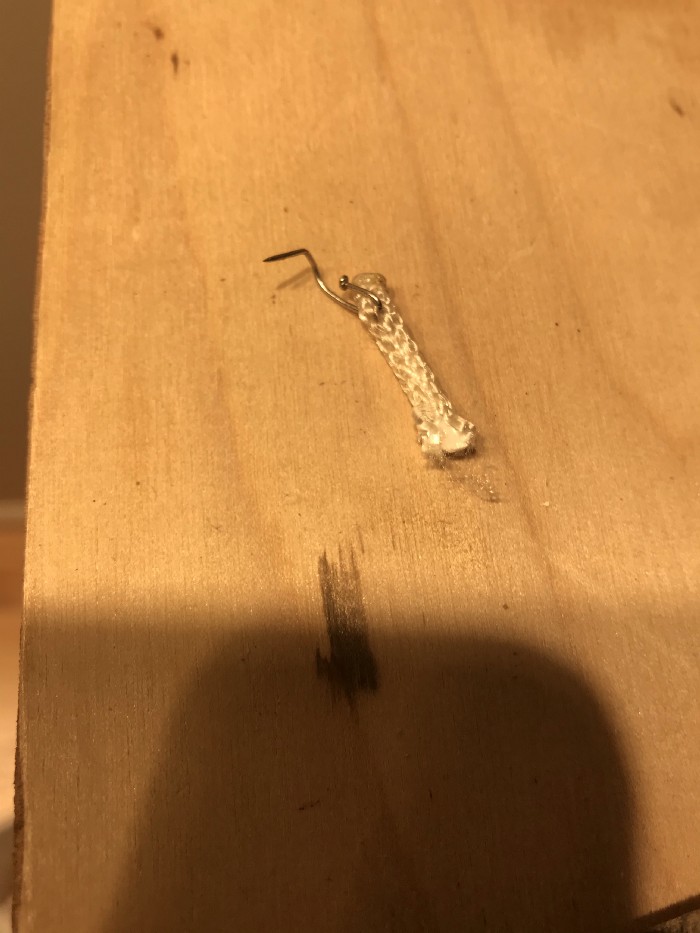
I decided to try 1/8" paracord first. It’s visibly thinner than the leather and very smooth, but I figured that duct tape would make up the difference in both. I’ve heard that the belts are sometimes joined with metal staples. I tried using dressmakers’ pins but they tended to pull apart under the strain. It’s notable that so far the paracord fibers (fused at the end) have never been the things that failed.
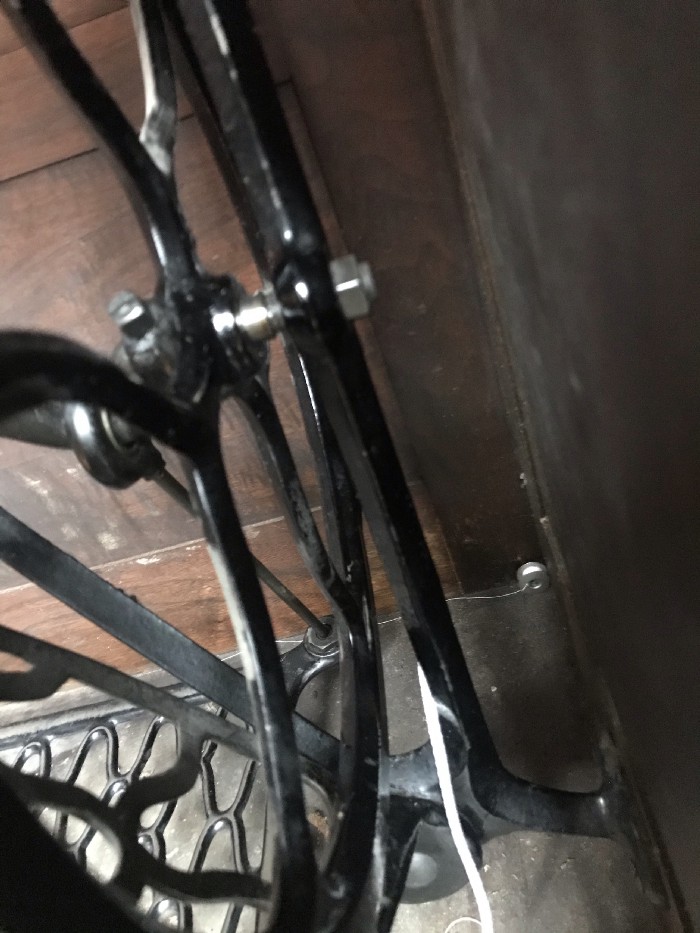
When I was researching this machine before buying it, I wasn’t able to find a clear image of the treadle online. The #43 cabinet is not the classic cast-iron treadle base I usually think of; it’s a wooden cabinet with a flywheel mounted into the bottom-right side. I was a little disappointed that it wasn’t the classic one, but now that I’m used to it I think I like it better. I love the idea of human-powered machines and this treadle-and-flywheel arrangement is pretty compact, extremely robust, and would be fairly easy to remove and reinstall in a different device.
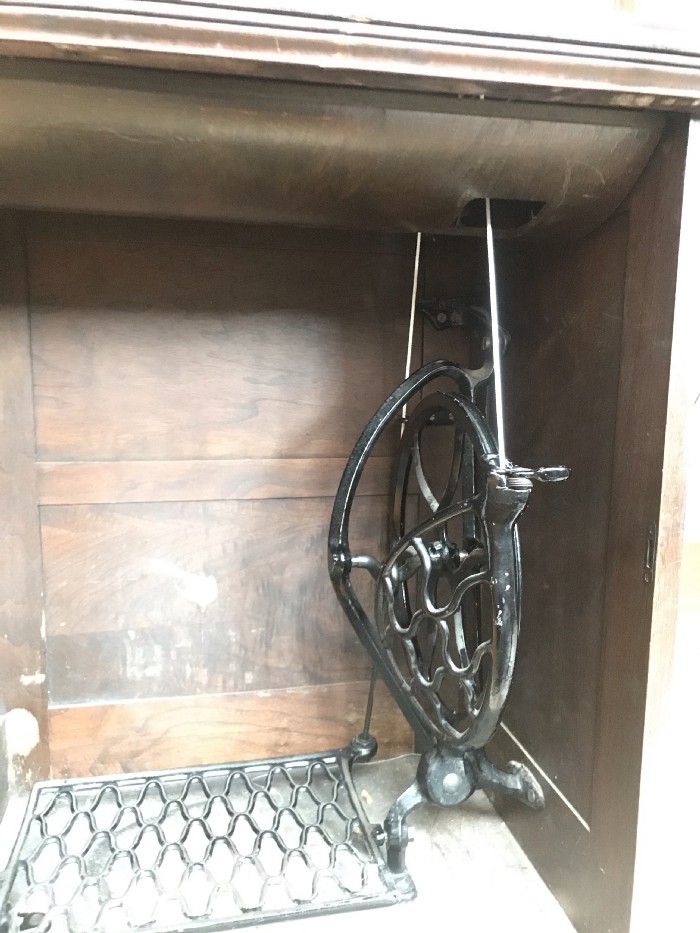
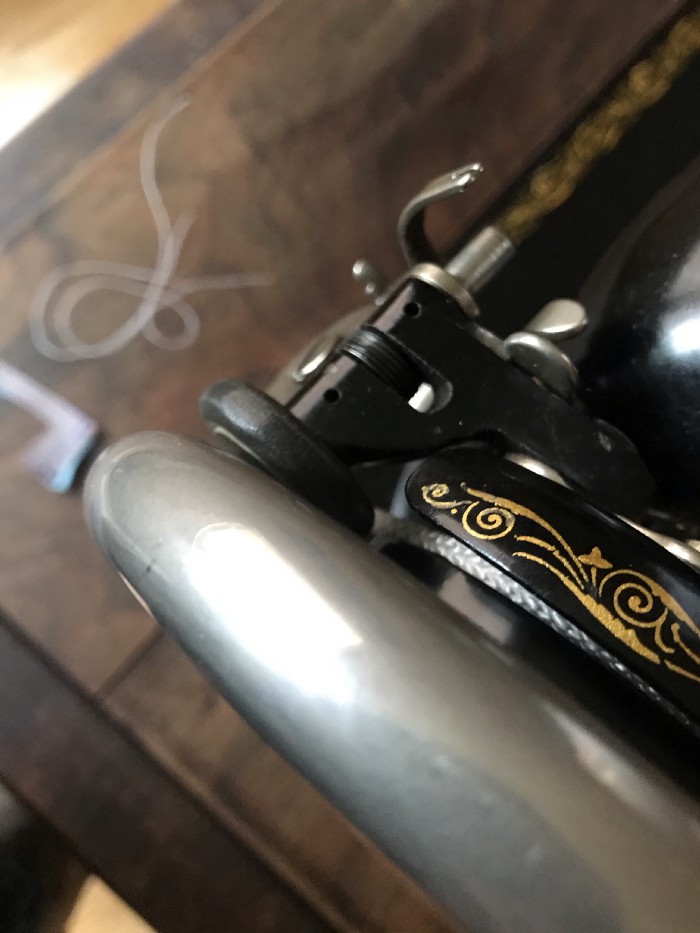
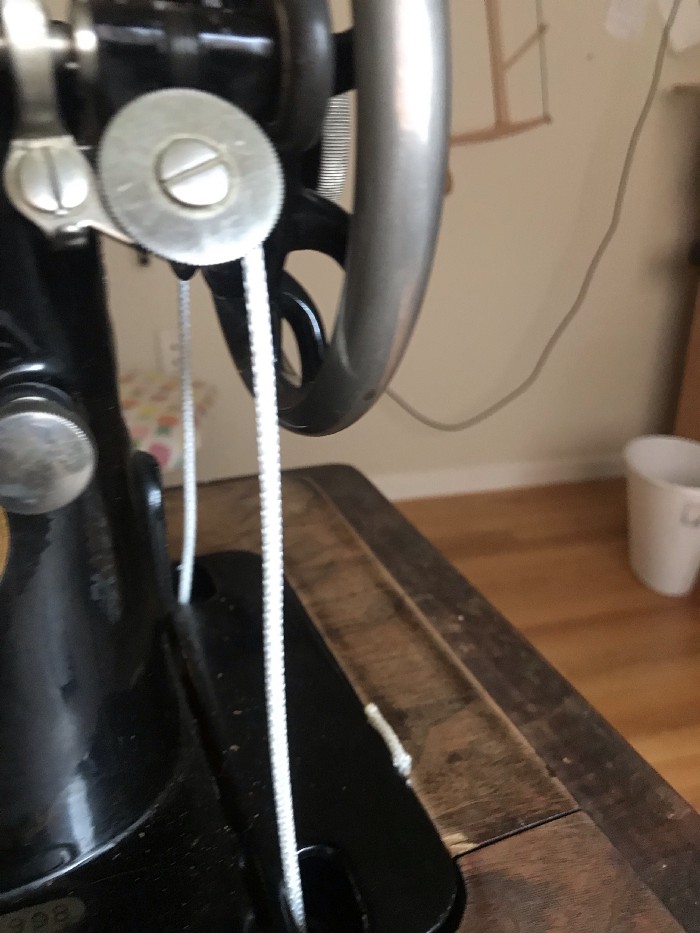
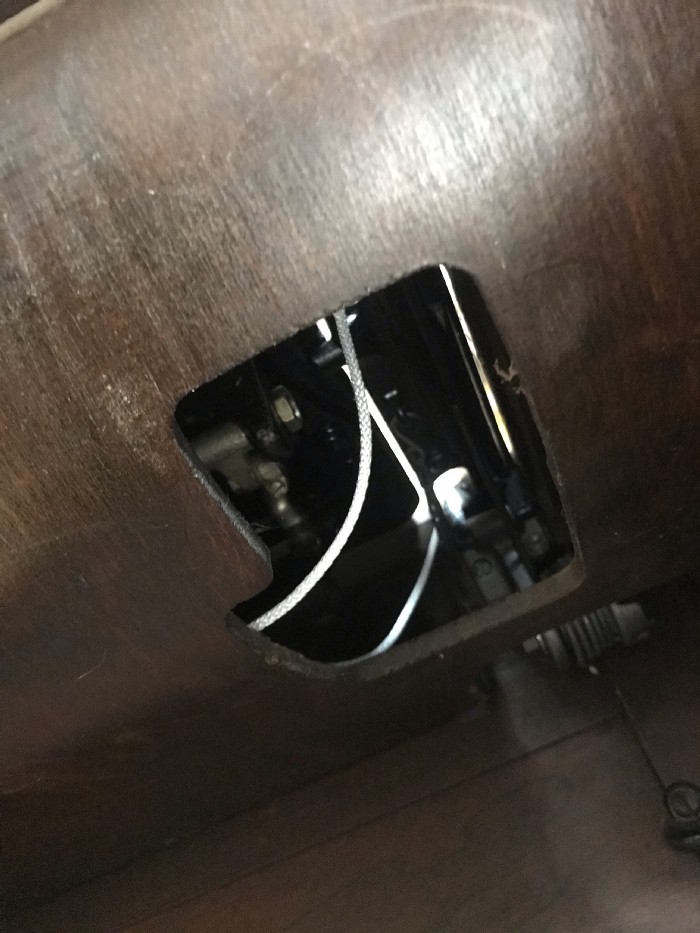
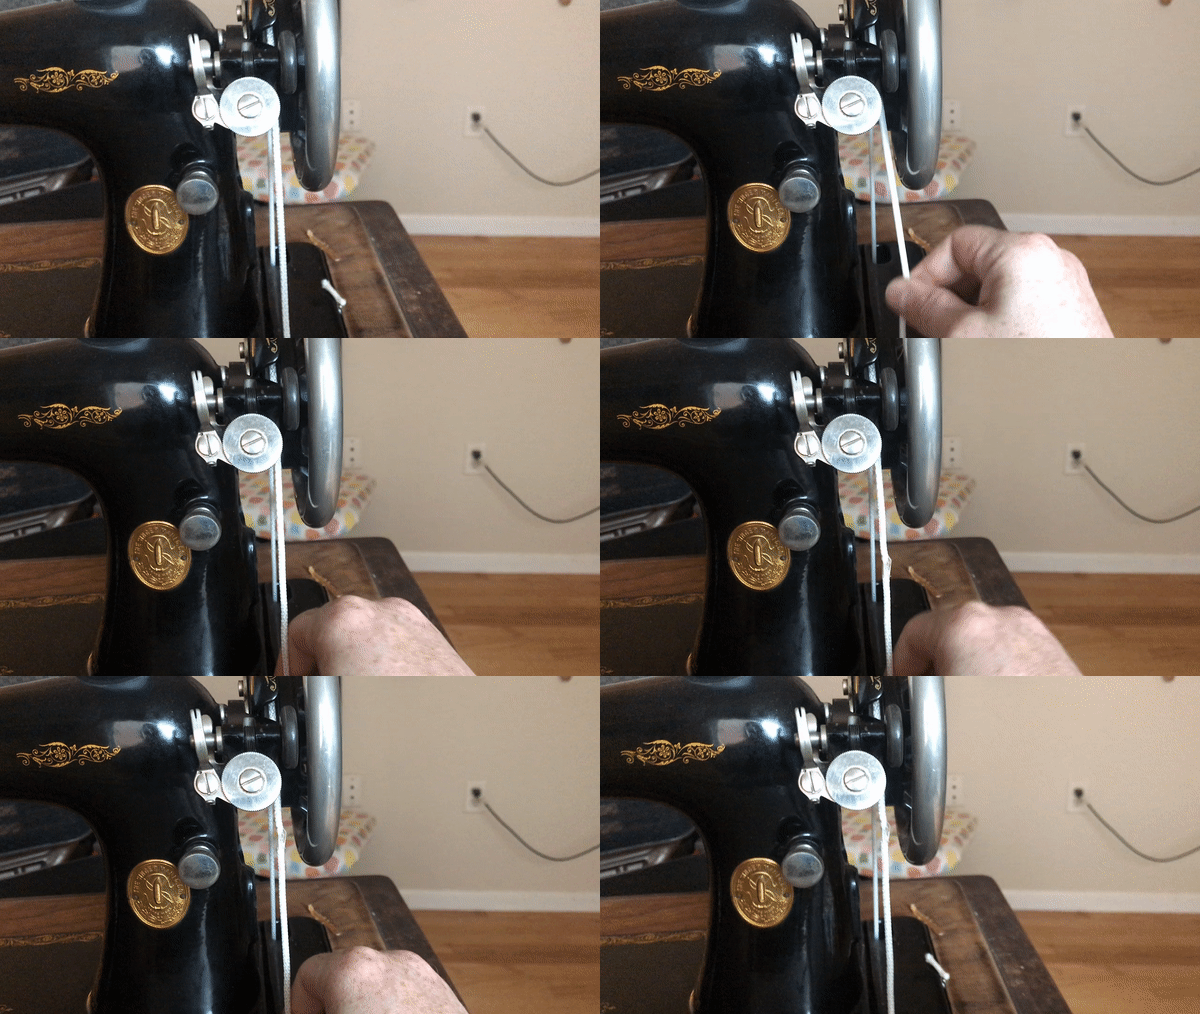
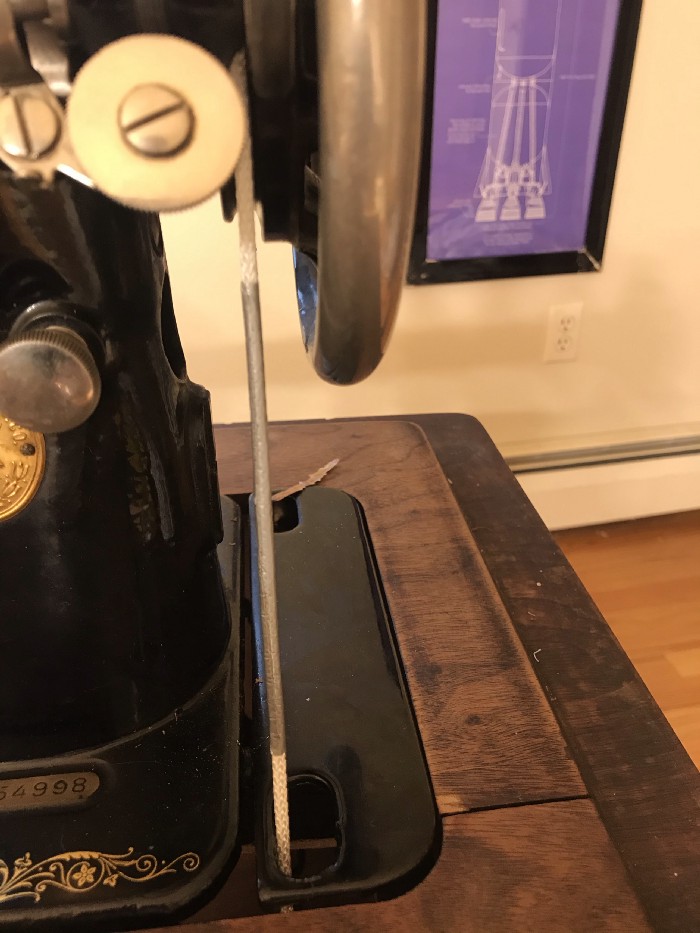
The following images show the belt path I’ve been using, which seems to work well. I’ve found that sewing the belt together is a time consuming and annoying operation, so it’s worth checking twice that the belt is threaded correctly before closing it.
