Design Goals
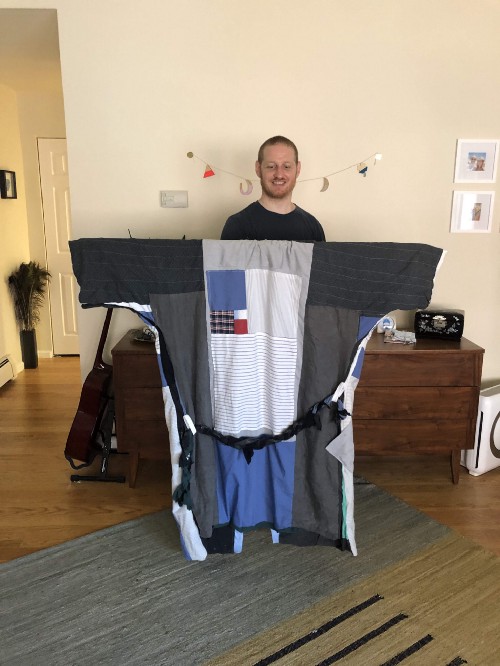
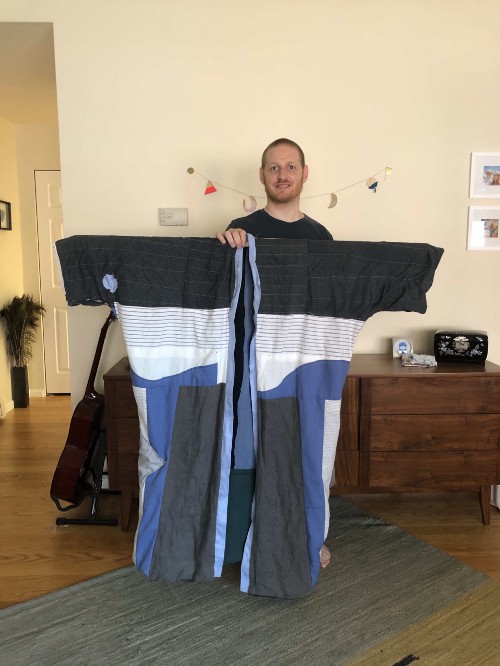
I wanted to make a coat, big enough to be used as a blanket, using only materials salvaged from clothes I already own but do not wear (plus thread). I wanted it to feel substantial and a little weighty, best for coziness in fall and winter, like a nice heavy quilt. The visual design should be satisfying and calming but not overprecise, so that as different parts wear out the new patches and replacement panels create a satisfying sense of the garment’s history and care, rather than an impression of shabbiness.
As inspiration I used Zoe Hong’s boro-inspired coat (making this a boro-inspired-inspired coat, I suppose). I based the dimensions on the Zero Waste Kimono Robe from Elbe Textiles.
Assembling The Liner
I have a big plastic tub of clothes I don’t wear anymore, so I took it out and sorted the contents by softness. The “very soft” pile ended up containing old T-shirts and underwear, while the “sturdy” pile contained dress shirts, linen pants, and sleepwear. There were also piles of stretchy athletic fabric that I didn’t find a way to use and an extremely scratchy T-shirt I chose not to.
Based on the pattern I chose, I knew that I needed approximately 140cm x 190cm of material for the coat, and the same again for the lining. I started with the lining because I wanted to quickly construct a reference for the overall size, and I could quickly sew together random lining pieces without worrying that I was making design decisions that I would later regret.
When breaking down garments, I quickly learned to remove as many seams as possible. It’s tempting to try to break every shirt into one big panel made from the entire torso. Many T-shirts are actually made on big tubular looms, so these very conveniently break down into one big torso piece.
{{< youtube "dZnJu7UcUlY" >}}
But any piece that does have a seam usually will not lie flat, so for dress shirts and pants it’s eventually necessary to cut them into individual panels.
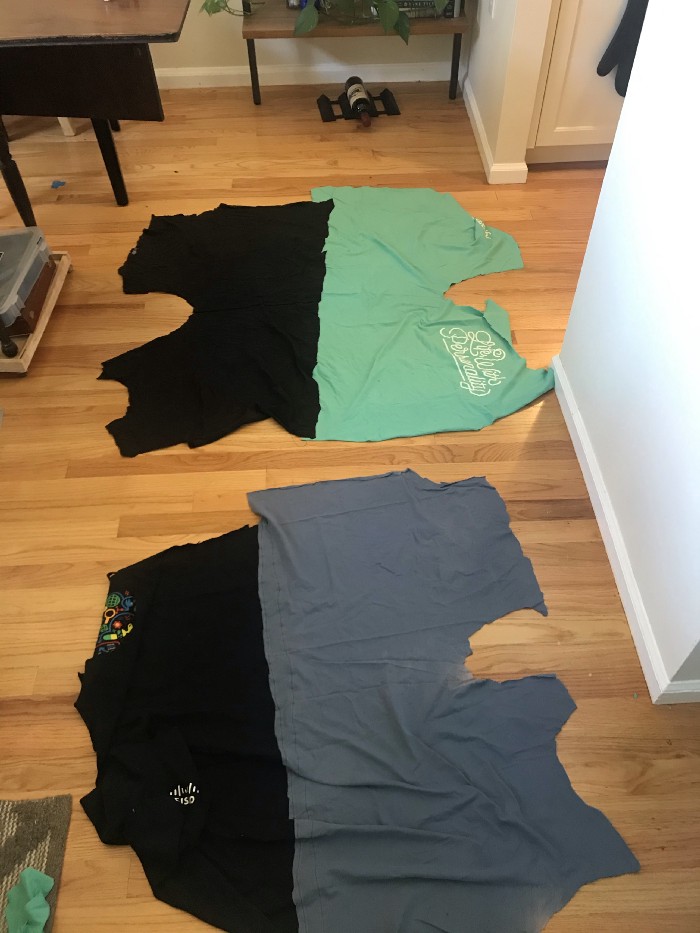
I started with the T-shirts and left all the panels as large as possible until I knew how I was going to use them. Once I had cut up about four, I started looking at ways of putting them together. The process of finding ways to fit shapes together is called tessellation. For the lining layer I just wanted the best approximate fit with no gaps, and I didn’t care if things overlapped a little. What I found was that I could stitch two shirts together at the bottom hem of each and get an approximately rectangular shape:
These shapes could be stitched together to make a column of T-shirt pairs, which could then be extended in width by adding shirts to the outside with their lower hems facing out:
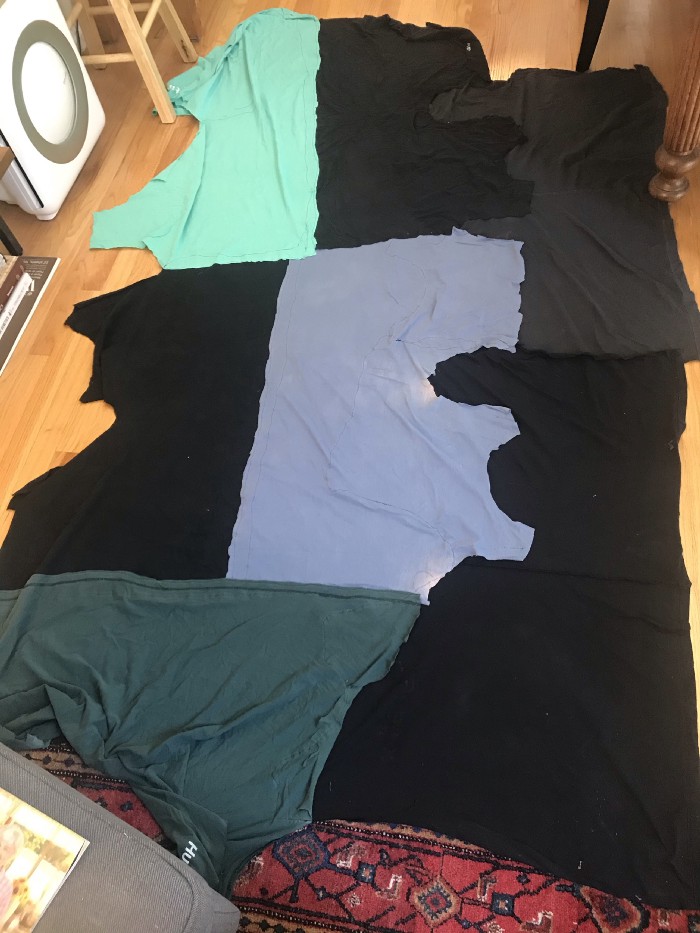
Because of the way the bottom hems are arranged, this tessellation pattern can give a rectangular outline using any even number of columns of shirts. I used my sewing machine to top stitch the edge of each shirt (so when I joined a pair of shirts I stitched them twice, once from each side). This gave me a big piece of patchwork jersey cloth, one later thick in some places and two layers thick in others.
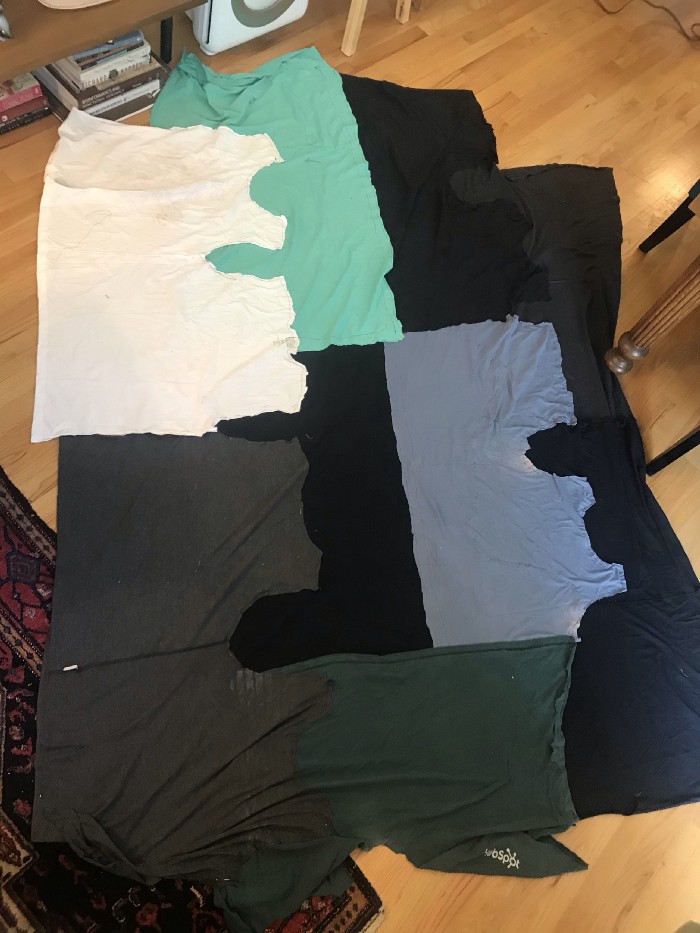
My original plan was to exactly follow the pattern from Elbe Textiles, but by the time I finished constructing the big panel of lining material I found that it was large enough that I could basically just cut out the whole outline of the coat, rather than cutting it into smaller rectangles and stitching them back together as the pattern specified.
Assembling The Shell
I knew that I wanted the shell to be a bit more neatly structured than the lining, so it took me longer to figure out how to start. I took some scraps and made a rough small-scale model of the basic pattern.
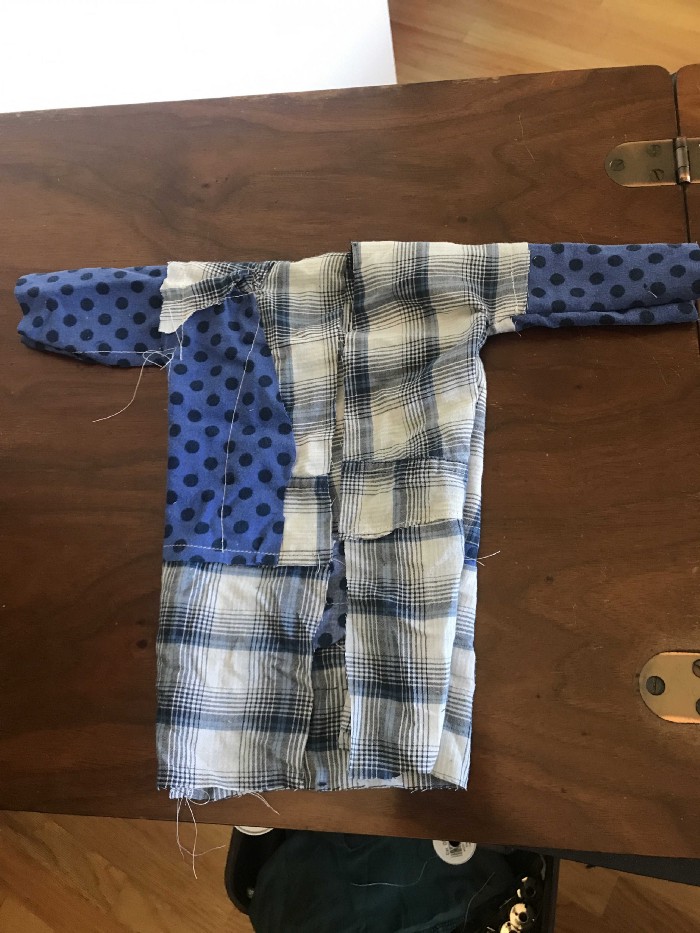
This exercise showed me that the overall outline of the coat was more important to get right than the exact panels specified in the pattern, so instead of trying to construct a rectangle 140cm by 190cm, I instead decided to try to construct the coat shape directly.
This coat is based on a kimono pattern, so for inspiration I looked at kimonos and the similar-but-less-elaborate haori. I noticed that the main area where a regular design is possible is on the back, between the shoulder blades. When these coats are displayed hanging, the front is also visible, but when worn the front panels are wrapped around the body, so they appear slanted and overlap each other.
I still didn’t really feel confident to lay out the whole shell, so instead I focused on coming up with a decorative pattern for that area on the back. I’ve always liked the golden ratio, and I knew I could construct it from rectangles using only straight seams, so it fit my skill level. I made a paper pattern, cut out fabric panels and stitched them together.
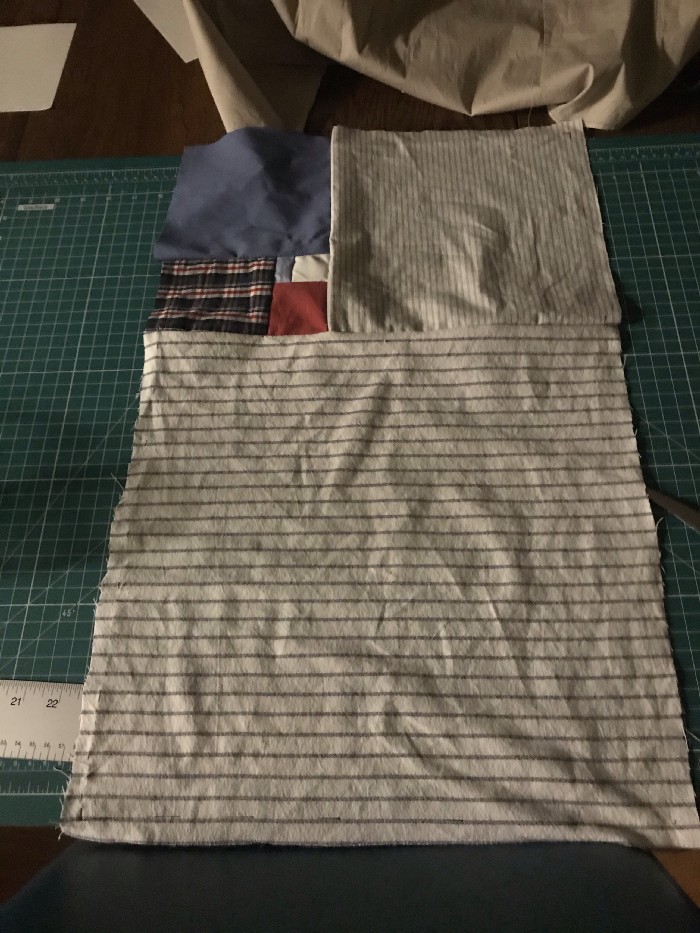
I was pleased with how it came out, which made me feel more intimidated than ever about the rest of the shell because I didn’t think I’d be able to match that level of quality. When I get stuck like that, I try to find a way to shift into a “lower gear” — a way to move slower but more deliberately, with greater forethought and control. In this case, since I knew what my final dimensions were supposed to be, I drew out the pattern in pen and used a pencil to sketch in ideas for how to lay out the patches, erasing or scribbling out anything that didn’t work.
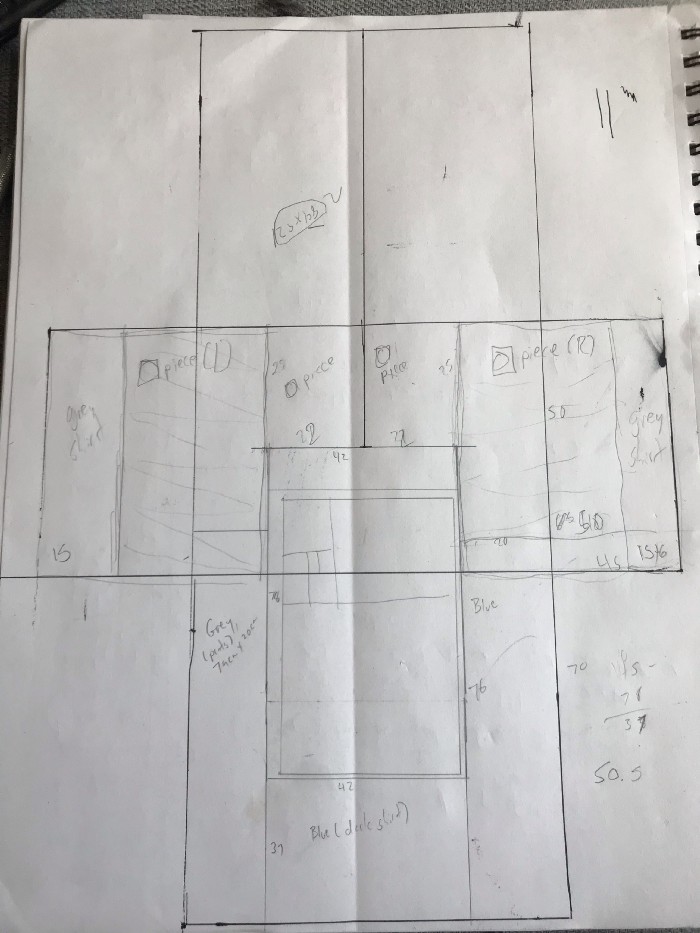
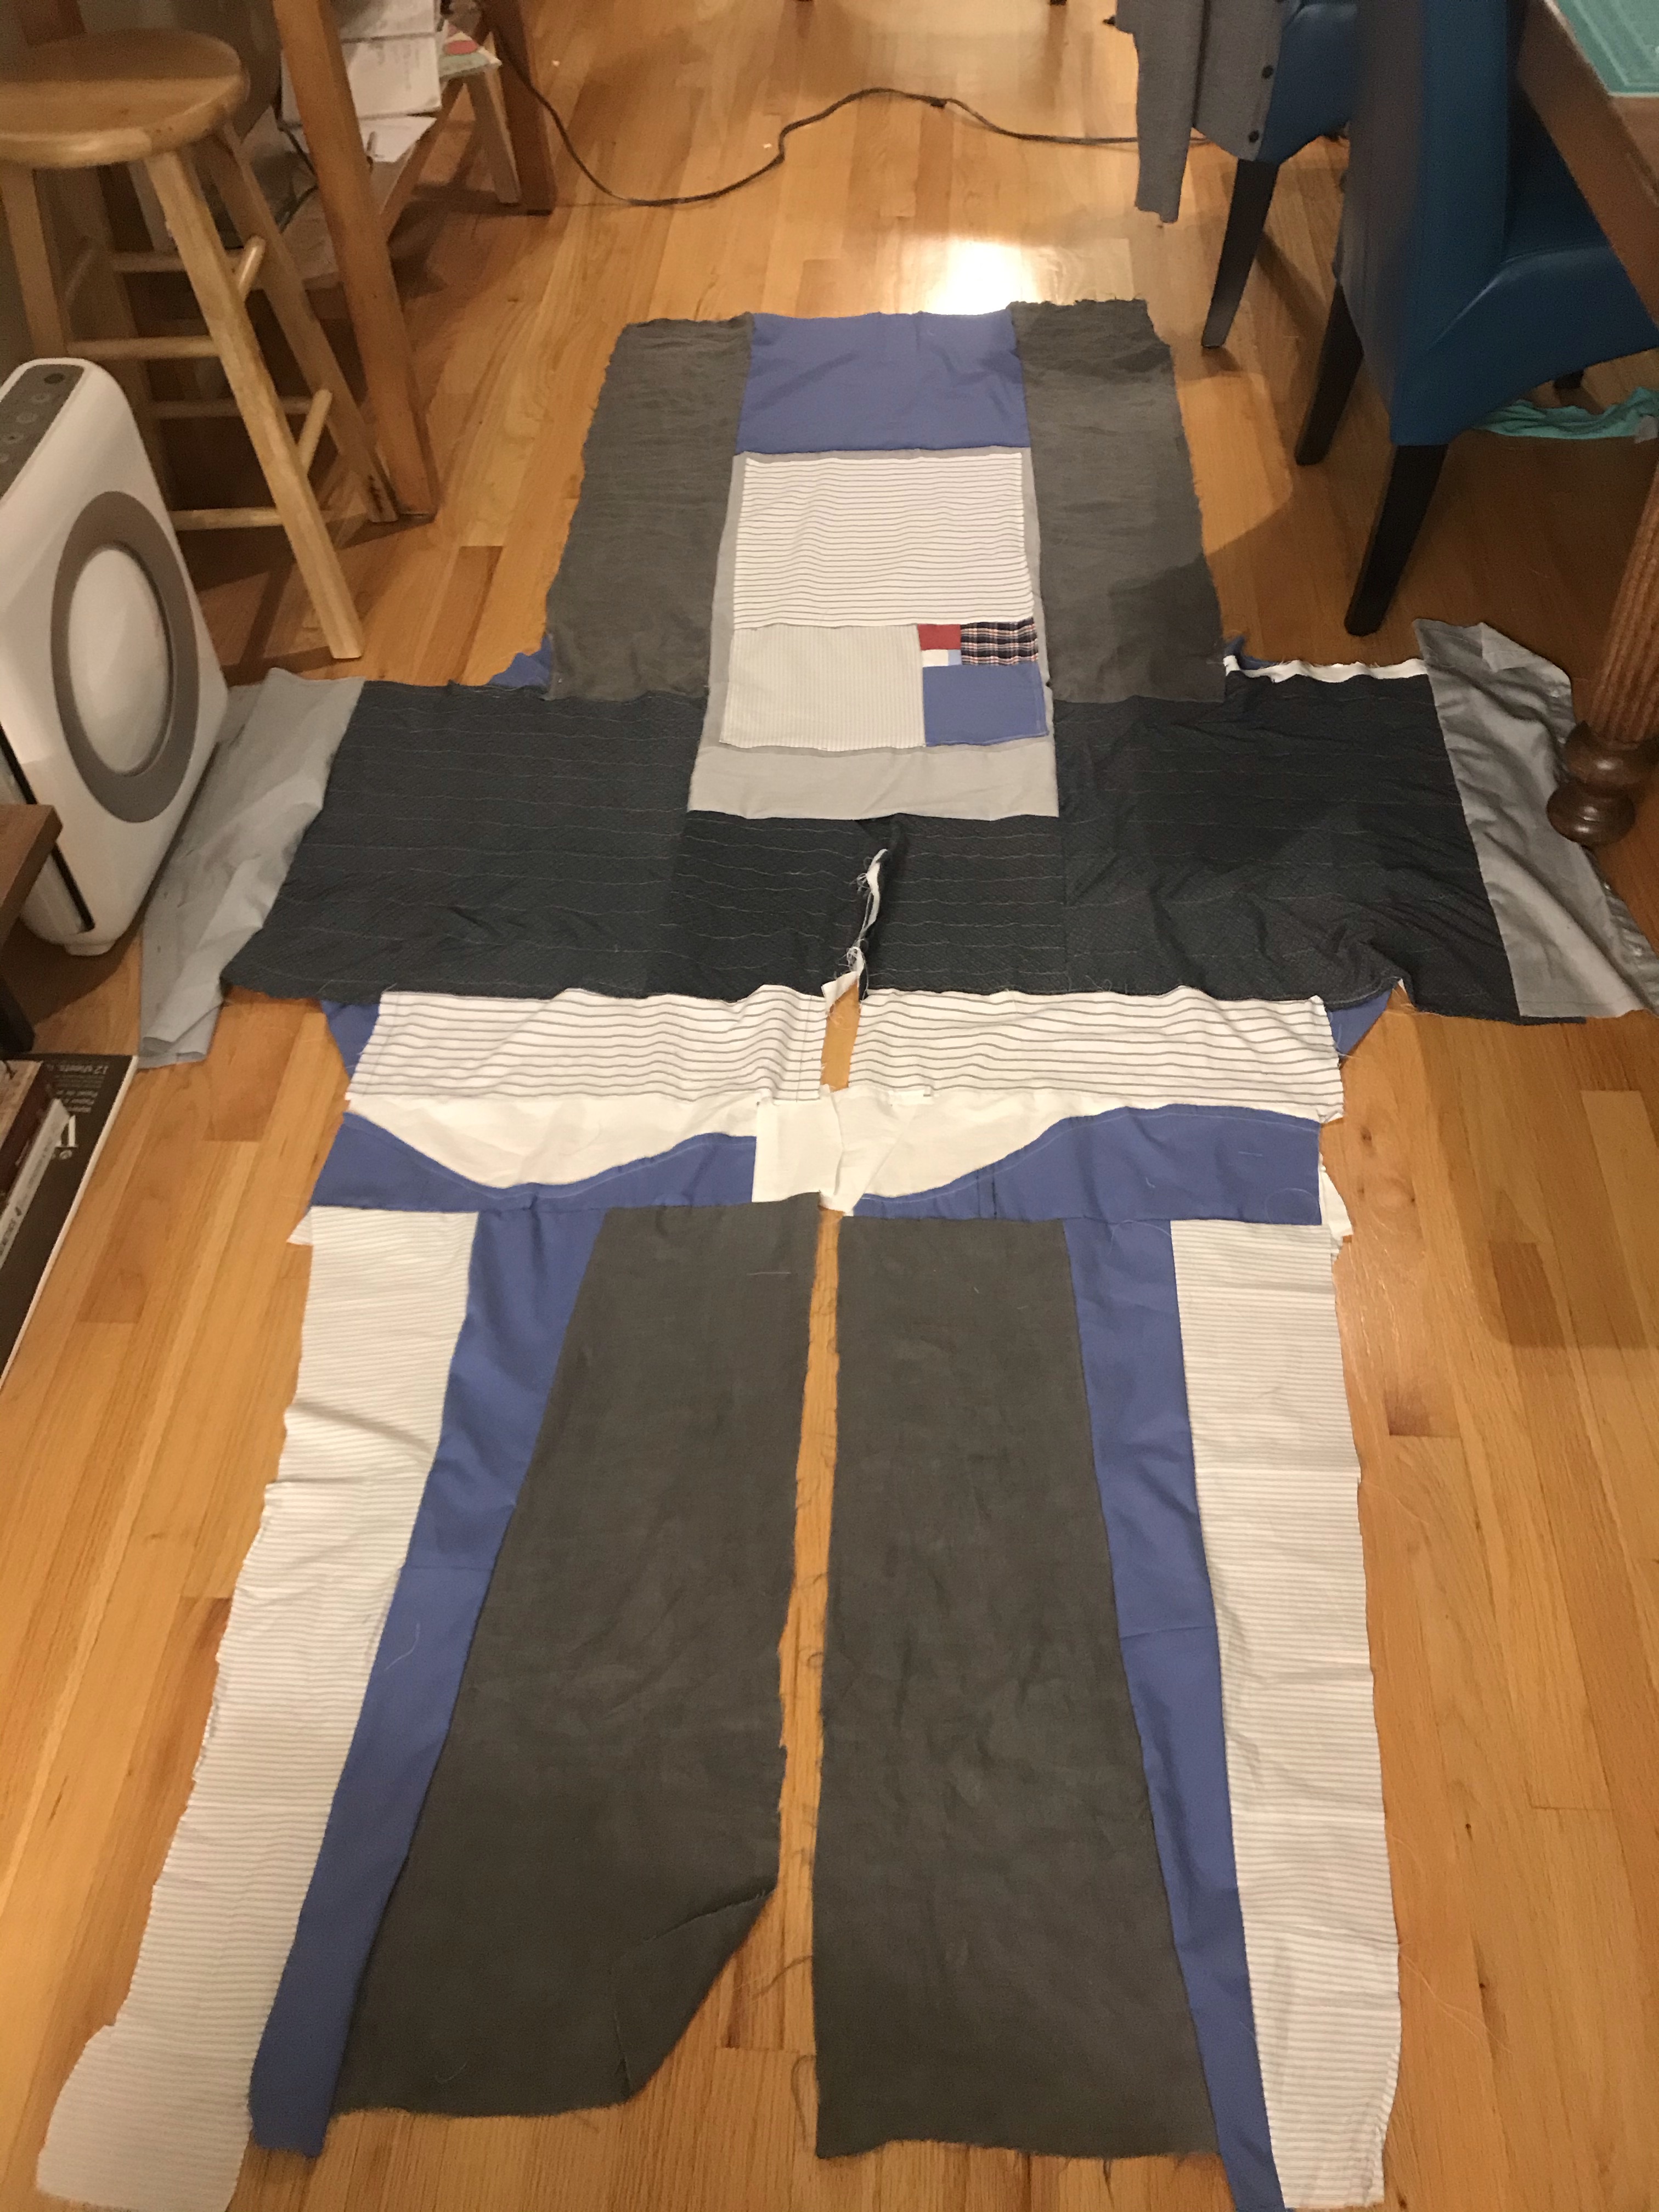
The process of constructing the shell consisted of looking at the pieces I’d already made, picking one of the adjacent areas, and looking at what I could fill it with. I surprised myself by gravitating toward a mostly-symmetrical pattern. I usually prefer asymmetry but in this case it seemed that the contrasts between colors and materials was already irregular enough. A drama director once warned me never to reference a joke from a movie on stage “because then the audience ends up thinking about that other movie for the next ten seconds and misses whatever happens next.” In the same way, I wanted to avoid using recognizable garment pieces — collars, cuffs, sleeves — because I thought they would hurt the cohesion of the final coat.
I found that it was very hard to use curved shapes, so I cut every structural piece down to a rectangle before using it. The fabric I ended up using across the shawl area was from a pair of pajama pants; it was very soft and floppy so I stitched it down to some white dress-shirt panels. After a couple of tries, I found it most effective to run the panels through the sewing machine in a snake pattern — going up one side, making a tight U-turn, and going back to the other. This allowed the top material to stretch evenly relative to the backing material without getting too bunched up.
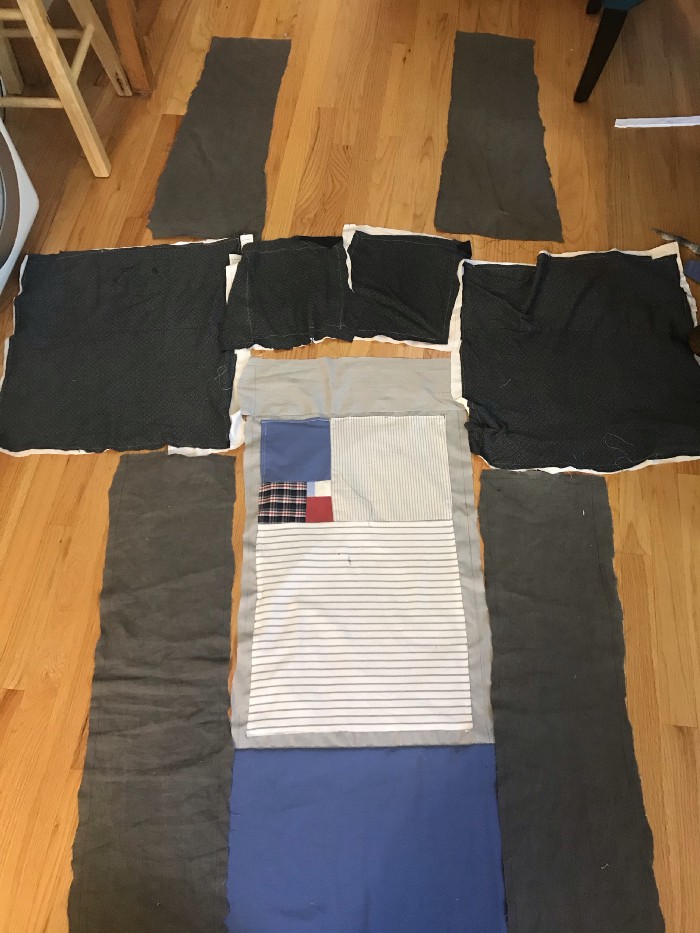
In the image above, you can see that some of the pieces are already sewn together and others aren’t. I found it very useful to do the layout and construction in stages like this — pick a design, lay it out, extend it until I got to a place I wasn’t sure about, and then go back and stitch together the first pieces I’d put down. I usually tried not to leave myself any “inside corners,” where I would have to stitch a new piece into an existing right angle, because I found those tricky.
{{
Assembly
I knew I wanted to stitch the liner and the shell together inside-out, then invert them to hide all the seams. I laid them out on top of each other with the right sides facing, and cut out the liner layer to match the shape of the shell.
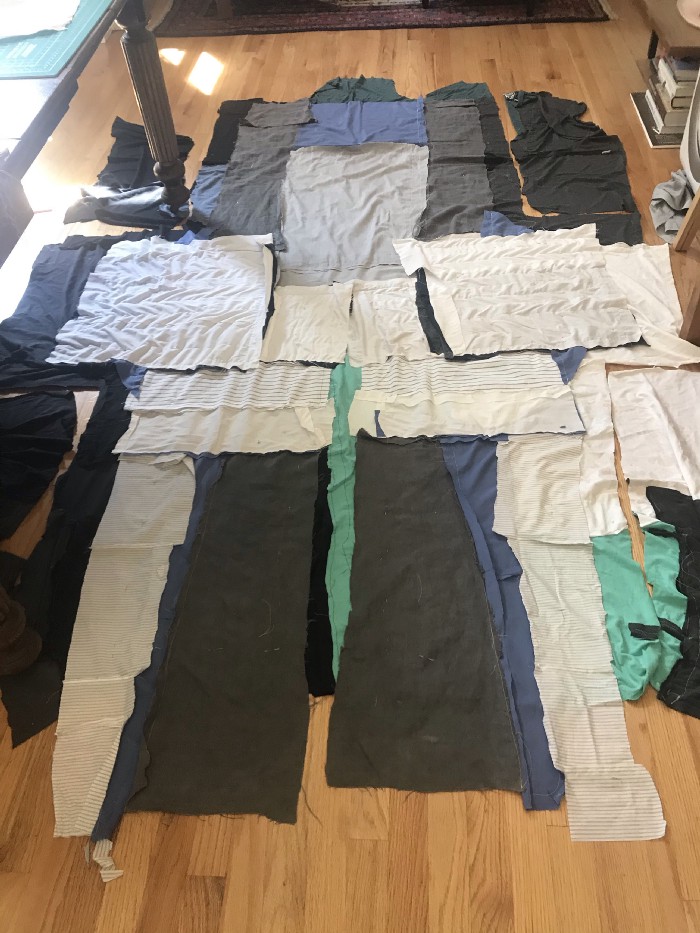
Once I had the liner and shell cut to a size I liked, I laid them out on a table and stitched them together. By this time the coat was pretty big and hard to maneuver around the machine. Luckily, my sewing machine is on wheels, so I was able to keep the coat mostly-stationary on the table an wheel the sewing machine around it as I stitched.
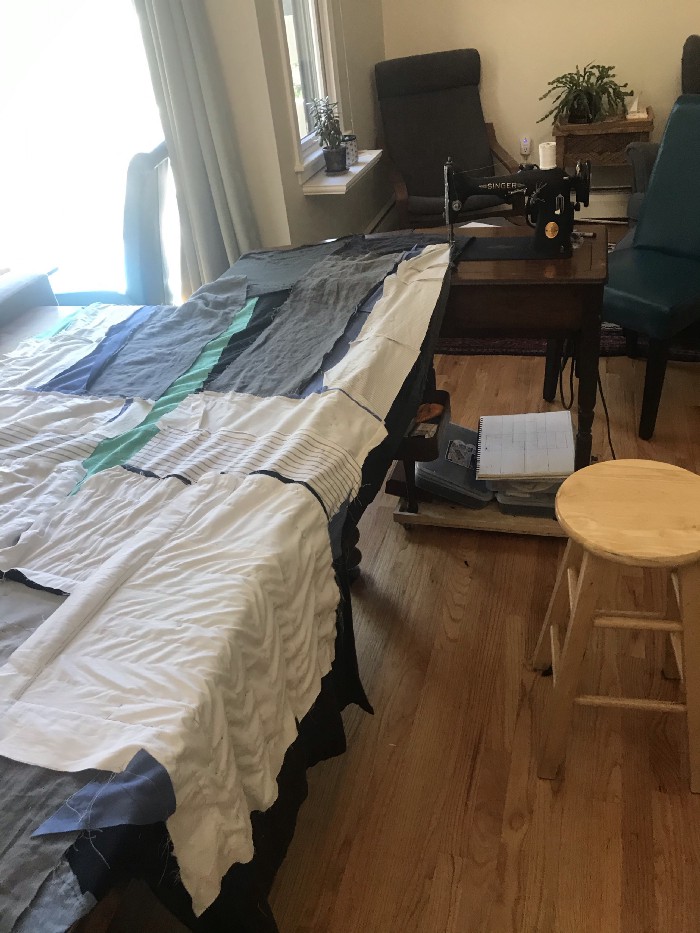
I then cut off all the excess liner fabric.
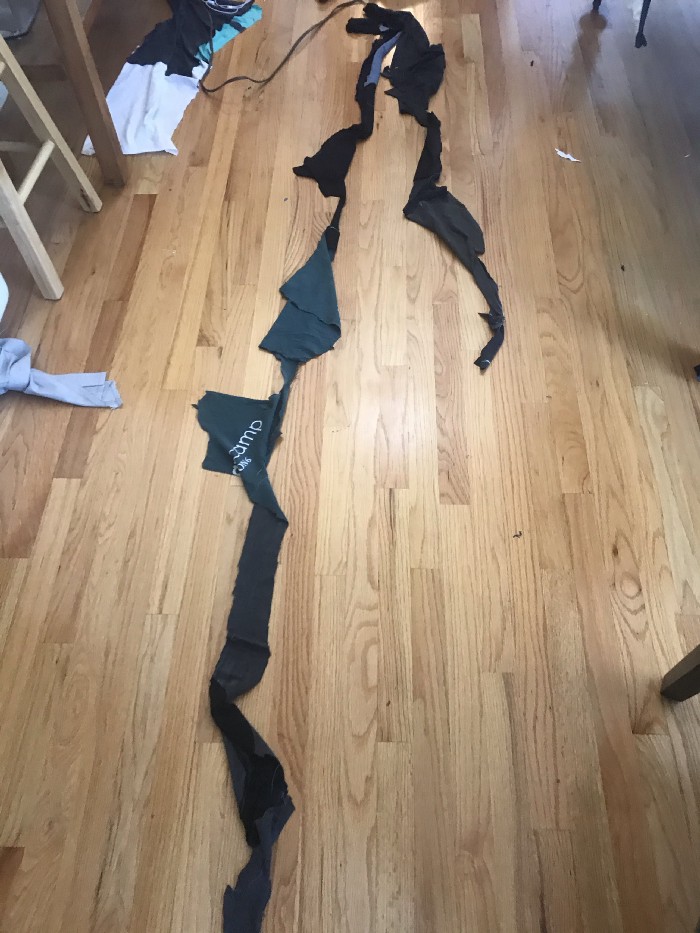
When I turned the coat right-side-out, I was quite happy with the size and the design, but I didn’t have a plan for stitching up the sides. I didn’t want to lose a seam-allowance-worth of width and create a thick seam along the inside by doing it on the sewing machine. I also know that I might want to remove the side seams for repairs or alterations, and the sewing machine stitches can be time consuming to stitch. In the end, I settled on hand-stitching it with big whip stitches. I suspect they’ll hold up for a long time, but if not they’re easy enough to redo.
{{
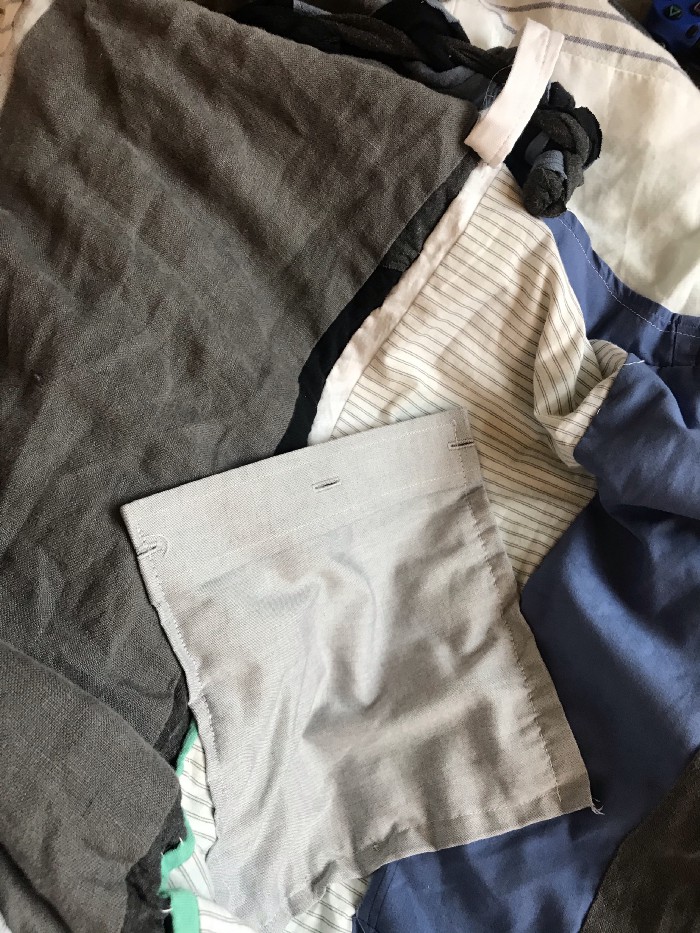
After doing a fitting, I added a patch pocket (topstitched on the sewing machine), two belt loops, and the braided belt.
I was happy with the final fitting.
Results
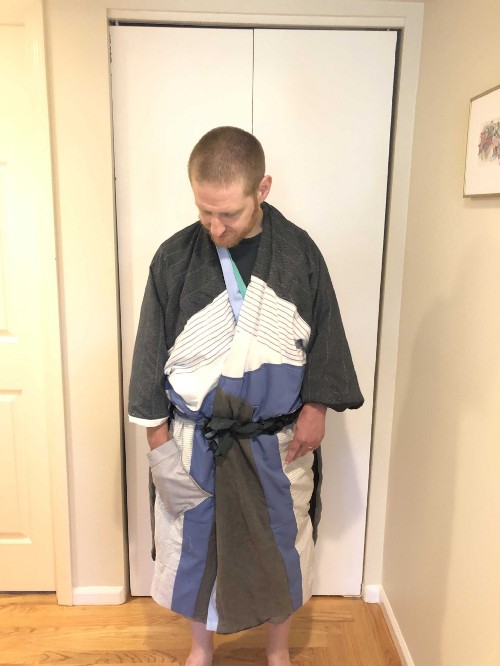
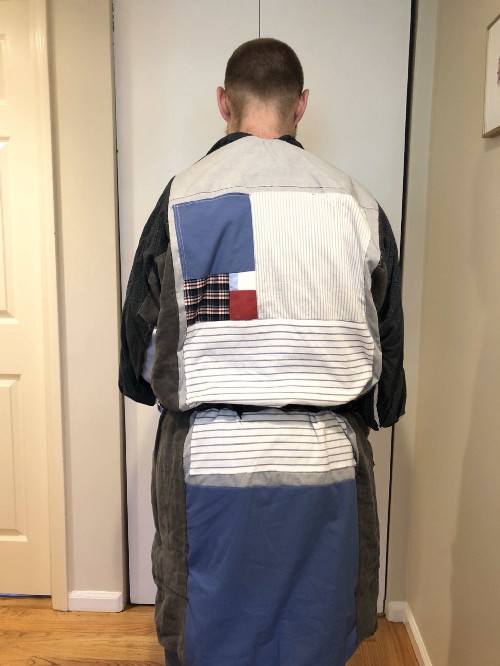
After taking a few pictures of it for proof, I put it through the wash. It came through nicely except for a small piece falling off the braided belt. I really like this as a garment, and I look forward to putting it on, so I think I’ll keep using it. It probably took me about 40 hours to complete. Patching it feels easy and low-stakes, just like I wanted, and as I learn more hand stitching techniques I can practice them on this coat in ornamental ways. Hopefully it keeps getting better over time.