These instructions are largely copied from the instructions from the Practitioner Journey 004 release. That is because the deployment process has not changed; the only difference is which terraform configuration we’re applying. Note that this terraform configuration will need to be run several times; it will not be able to deploy all the resources in a single run. It should not need to run more than, say, 5 times, and each run should be faster than the previous one, and attempt to create fewer things.
The same thing applies if you choose to delete the stack—it will take several runs. However, after running the delete command once, you will probably need to wait 45 minutes to an hour before running it a second time; until then you won’t make progress[1].
In this exercise, we're going to deploy the blogging system I use on this site. To follow along, you'll need to have already completed the first exercise and gotten a domain name. I’ve included instructions for deleting the whole system at the end of the exercise, but if you'd like to keep using it you can. The infrastructure that we're going to deploy in this exercise will probably cost around $0.80 / month to operate; added to the cost of the hosted zone we deployed as part of the domain name exercise, that will bring the total cost per month to around $1.30. All of this infrastructure is billed on pay-as-you-go terms, so if you finish this exercise in one sitting, you'll probably not be charged for any of it.
Overview
In the first practitioner-inn post, I presented two ways of looking at personal social media systems; one based on function and another based on where important parts of state are held. In the functional view, this blogging platform is part of the website system. In the state view, this system is designed to hold artifacts of convenience--disposable, autogenerated items in display formats like HTML. In future posts, we'll deploy a visibility system and a special bucket to hold artifacts of human attention--kind of like a personal home directory in the cloud, where we keep original copies of things that we want to back up carefully.
The first few steps in the following instructions are about setting up the instance, and are the same as in the first exercise.
Instructions
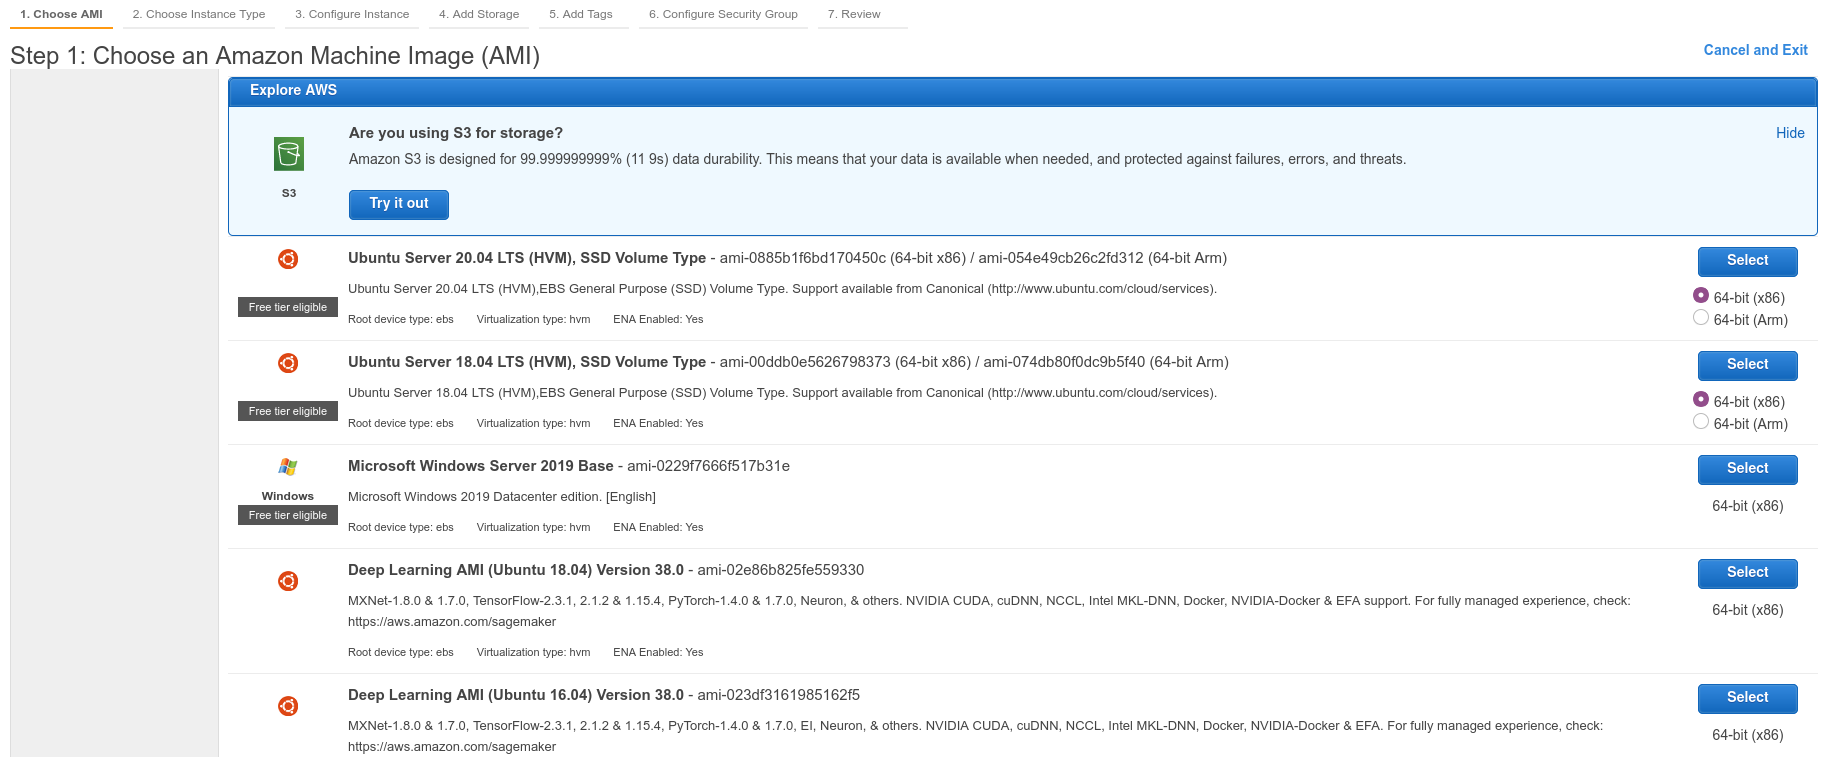
Just like we did in the first exercise, we're going to start and set up a VM to run terraform. Go to the instances page and click the Launch Instances button. On the next screen we're going to choose the amazon machine image (AMI) that we want to use. A machine image is like a snapshot of a particular type of operating system, like MacOs, Linux, or Windows. Scroll down until you see an image called "Ubuntu Server 20.04 LTS." Click "Select," leaving the radio button set to "64-bit(x86)"
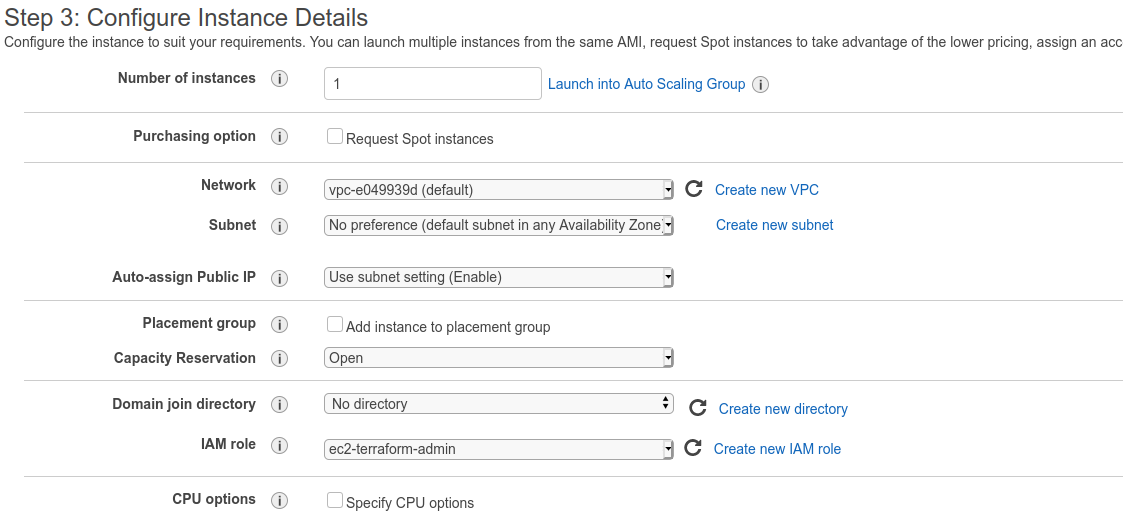
On the next page, leave the instance-size setting at t2.micro (notice that this is a computer with 25% of the memory of a current iPhone) and click the grey
"Configure Instance Details" button. The next page has a lot of settings, but we only need to change
one of them. On the IAM Role dropdown, select the administrator role that you created in the first
exercise.
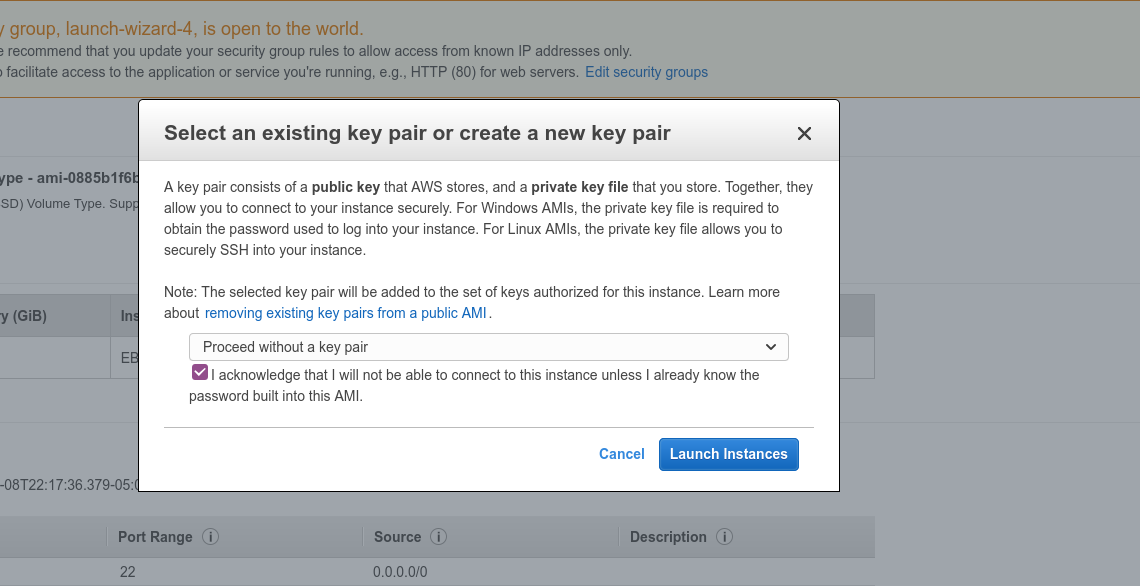
We don't need to change any more settings. Click the blue "Review and Launch" button at the bottom of the screen. On the next page, click Launch. On the popup, choose "Proceed without a a key pair" from the options, click the checkbox, and launch the instance.
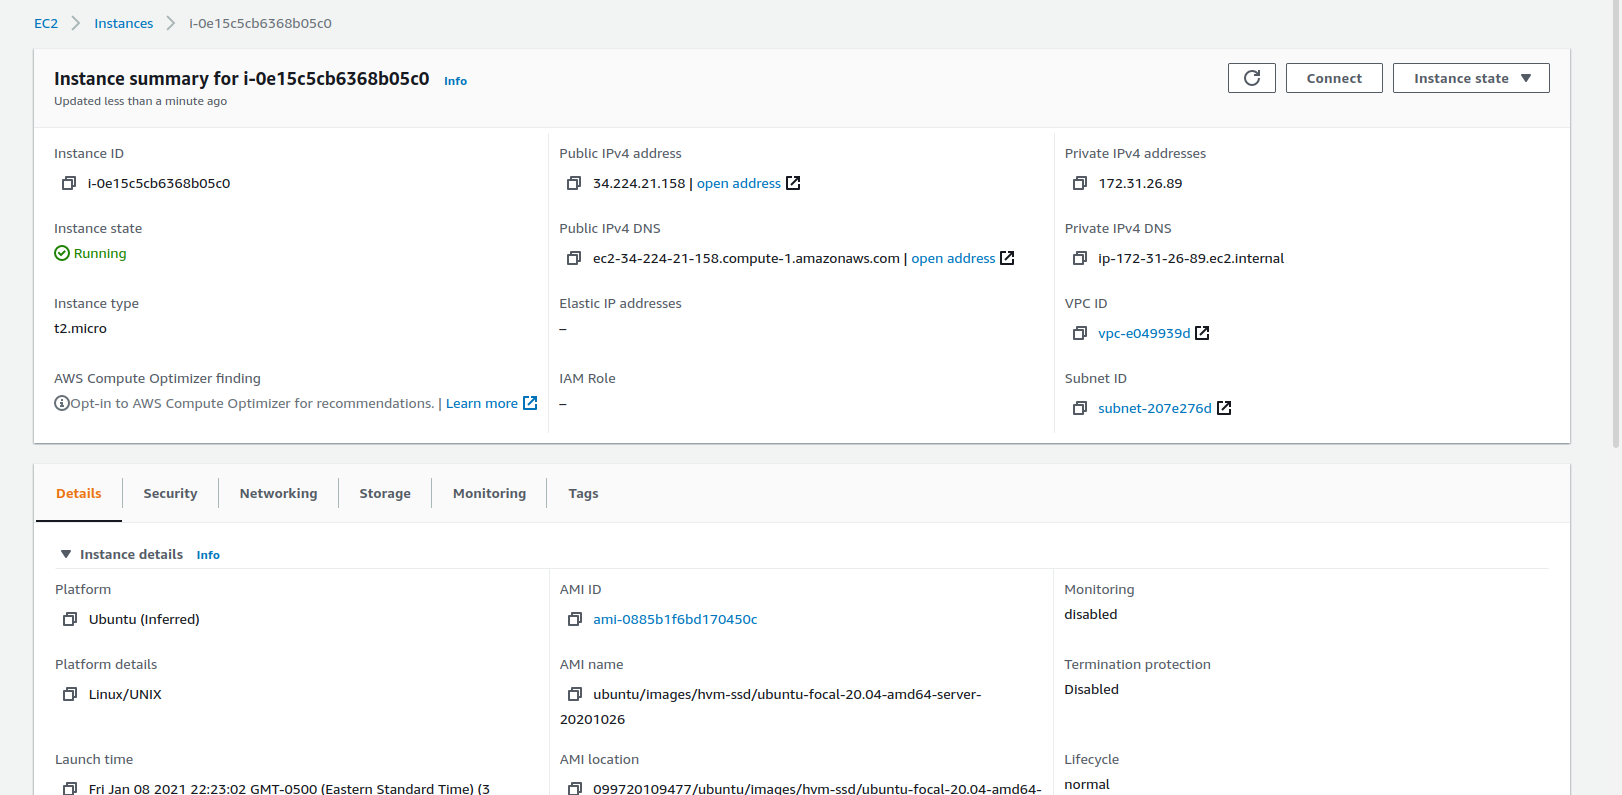
Back on the instances page, you should see that your instance is starting up. Click on its ID, and at the top of the table click "Connect." When the instance is first starting, there's a short time (under a minute) when you can't click "Connect" so if it's disabled at first give it a few seconds.
The next screen presents options for connecting. We're going to use the default of EC2 Instance connect, so just click the orange "Connect" button under the "Connect To Instance" panel. You should see a screen that looks about like this:
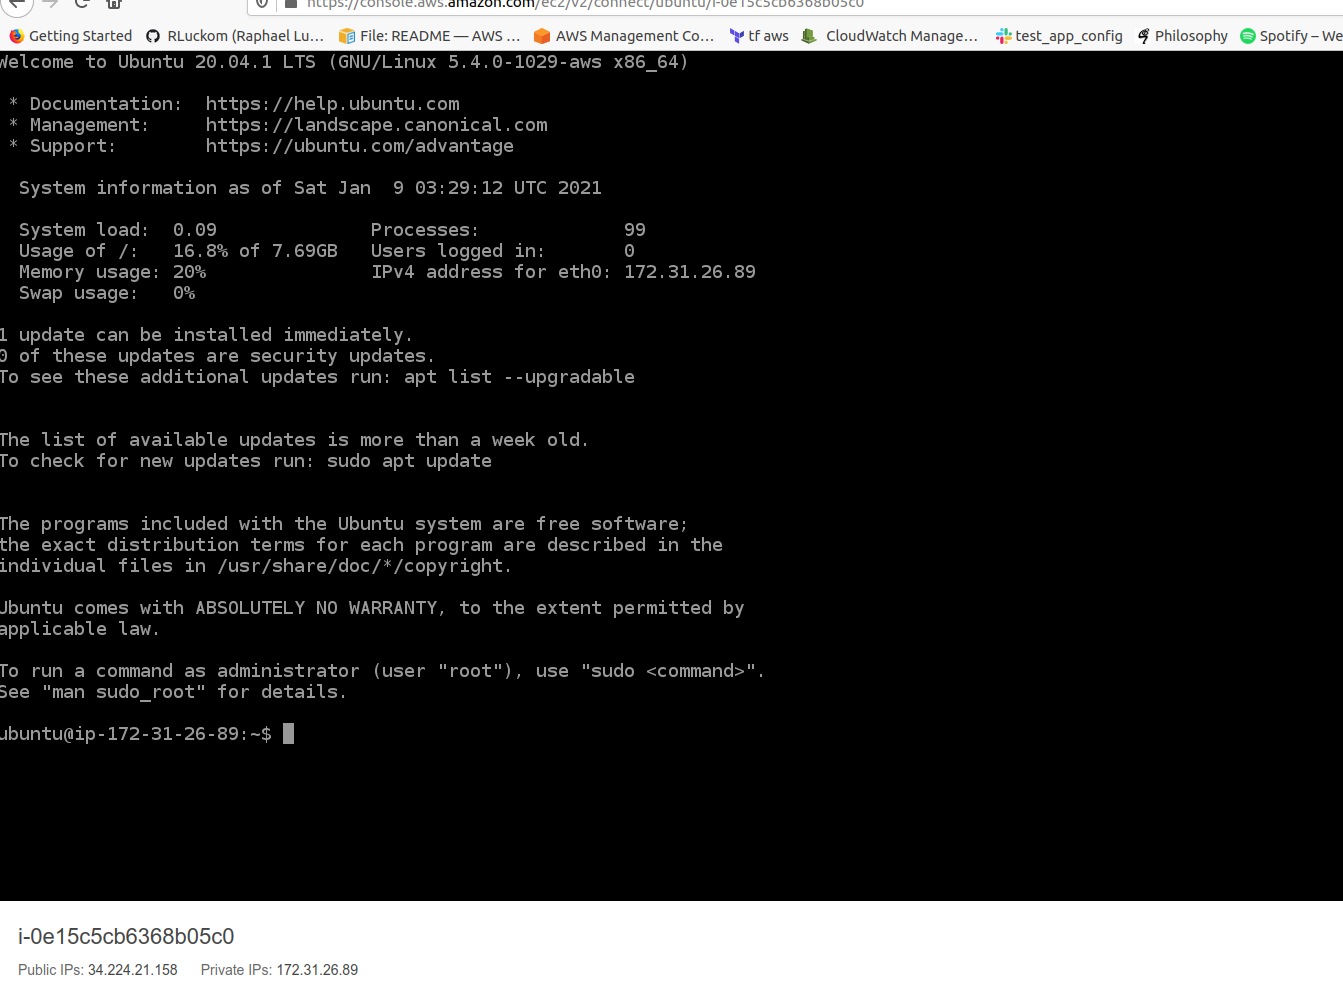
For the next few steps, I'm going to describe the commands you need to run and also provide
screenshots of what the output looks like. I've tried to make sure that I included the full text of
each command. When in doubt, use the screenshots to see exactly what I typed. Also note that the
console tends to get disconnected (the UI will freeze and you'll have to re-login through the
"Connect" page on the instance) if it is idle for more than about 5 minutes. If this happens, log
back in and repeat any commands starting with "cd" to get back to the right directory.
Before we can run terraform, we need to install it. Actually, we need to install a few things using a script.
A script is a short program we run at the command line. They often take care of housekeeping tasks like setting up an instance. But scripts can do just about anything, so you shouldn't run any script unless you understand exactly what it does. The script we're going to use is linked above, and it has comments explaining what it does.
We're going to download the script using git. Copy and paste the following command and enter it:
git clone https://github.com/RLuckom/practitioner-journey.git
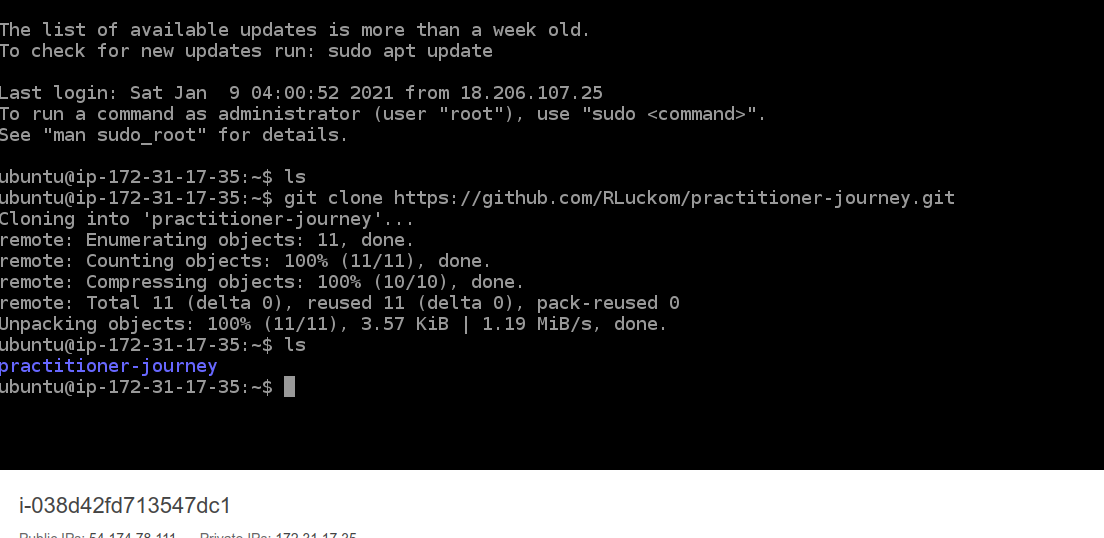
If you ever mistype a command, you can press Ctrl-C to cancel the command you're on without entering it. It's also fine to close the window and log in again through the Instances page.
Now we're going to use cd to change directory into the directory the script is in. Enter the instruction:
cd practitioner-journey/005/
We're going to run a script called setup.sh. This script requires elevated permissions, so we're going to run it as the
super user with the following command:
sudo ./setup.sh
The last step in the script asks you to enter the name of the S3 bucket you made in the first exercise for the terraform state (if you forget which bucket it was, you can find it on the main S3 page). Type in the bucket name and press Return.
If you make a mistake entering the bucket, you can run the script again the same way and enter the right name.
Next, enter the command
cd terraform
to move into the "terraform" directory, then enter
terraform init
to set up terraform.
Now you're going to set up the infrastructure. The command below shows every option you can specify, but the only ones that need to be specified are:
-
-var='domain_name=${your domain}' -
-var='maintainer_email=${your email}'
The maintainer email will be used only to be used as your login name and to email you your initial password.
For the site_title, use underscores (_) instead of spaces; they'll be converted automatically. You will probably want to copy the whole
command into a text editor and edit it there to replace my values with yours, then paste it onto the
command line. The slashes at the end of each line except the last allow you to just paste the whole
command onto the command line in one go. Avoid word processors like Microsoft Word (Is it still
called that?) or Google Docs.
terraform apply -var='domain_name=raphaelluckom.com' \
  -var='maintainer_email=raphaelluckom@example.com' \
  -var='twitter_handle=RLuckom' \
  -var='linkedin_handle=raphaelluckom' \
  -var='instagram_handle=rluckom' \
  -var='github_handle=rluckom' \
  -var='site_title=Test_Website'
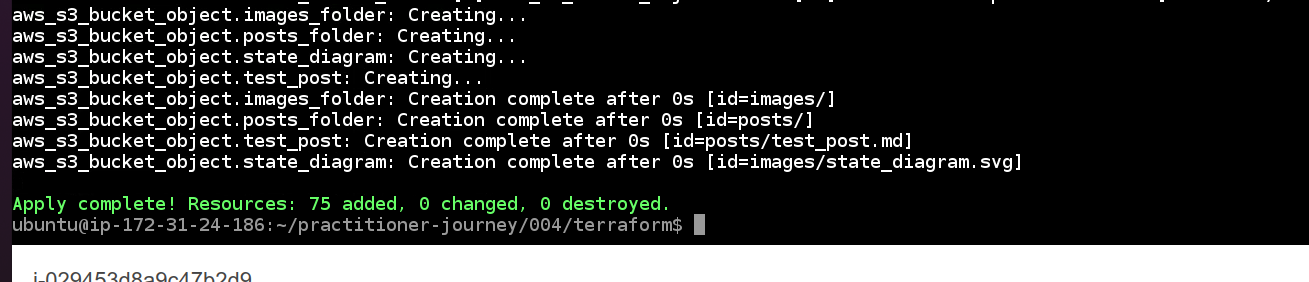
Once you enter the command, it may take a few minutes for the output to appear. In this step, terraform is going to create the infrastructure. You will see a plan that creates 261 resources, modifies 0, and deletes 0. Type "yes" at the prompt to accept, and press Enter. The first time this runs you’ll see an error message. This is expected—we’re making a lot of things very quickly and some of them depend on each other. So some of the components will find that their dependencies don’t exist. Run the above command again. You should see that terraform plans to create many fewer resources (I’ve seen between 2 and 54) on the second run. As long as that number keeps going down, re-run terraform. After two or three runs it should complete successfully. It often helps to allow a few minutes between runs. Overall, this process could take 15 minutes, and when it's complete you should see something like the following:
You should have received an email with your username and password and a link to the admin UI. You can sign in to the admin UI and set a new password. When you sign in, you should see tiles for two plugins: visibility and blog. After about 24 hours, the visibility plugin will start to display the total cost of your AWS infrastructure for the current month. Note that this can be up to two days behind. You can use the blog plugin immediately.
If you plan to use the stack for a while, this is when you should close the connection window and terminate the instance using the Instance State dropdown on the instances list. Alternatively, if you want to be able to update the site a little quicker, you can shut down the instance instead of terminating it (it will cost a very small amount to store the data associated with that instance if you stop it instead of terminating it).

Updating the Infrastructure
Since releasing this alpha, I’ve been making small fixes in response to feedback. If you would like to make sure you’re running the most recent version, you can update your deployment using these instructions.
If you terminated the instance you used to set up the stack, you can simply follow the installation
instructions again, making sure you specify the same state bucket. At the apply step, you should see that terraform is going to add, delete, and change a small number of resources
(maybe 20 of each, max). You should NOT see that it plans to create 261 resources, or to delete 261
resources—if you are trying to update and you see those kinds of numbers, do not
proceed.
If you stopped the instance instead of terminating it, the update process is simpler.
-
Use the instance state dialog to restart the instance, and the connect dialog to log in
-
Enter
cd practitioner-journey/005/terraform -
Enter
git pull -
Enter the terraform apply command above.
If you change the email you supplied while updating, a new account will be created (the old one won’t be deleted though).
If you change any of the other inputs, they will update on the live site the next time each page is published. Posts are republished when they are changed; the list page is republished when a post is added or removed.
Deleting the Infrastructure
If you want to delete the infrastructure later, just follow exactly these instructions up to the point where you would create the stack, but use the below instructions to delete it. Note that running these instructions will delete ALL the data stored by this system, including the backups. As an evaluation system, this alpha has been specifically configured to allow such deletion.
When you’re ready to delete the infrastructure, complete the following steps. I'll assume that you're restarting the connection to the instance. To get into the terraform directory, you can use the command
cd practitioner-journey/005/terraform
When you're in the terraform directory, enter the following command to destroy the infrastructure:
terraform destroy -var='domain_name=${your domain}' -var='maintainer_email=${your email}'
You'll see a plan that deletes all 261 items we made today. Type yes at the prompt to confirm. The first time you run this, terraform gets confused about the order and
you'll see an error like this:

Run the destroy command again the same way (you can use the arrow keys on the keyboard to get the previous commands) until it completes without error. You will likely need to wait up to an hour after the first time you run the destroy before you can run it again and have it complete successfully.
This was the last thing we needed this VM for. Close the connection window and terminate the instance using the Instance State dropdown on the instances list.
Specifically, the functions that are used to do authorization get marked as “in use” by the Cloudfront distribution. The first time you delete the stack, the Cloudfront distribution will be deleted. However, it takes up to about an hour before the “in use” flag is removed from the functions. Running terraform during this time will have no effect. ↩︎